Your Cart is Empty
1% of Every Sale Go To Environmental Non-profits
Author: Lance Keimig, Partner, National Parks at Night
Night photography means different things to different people. Photographing by starlight in nature and photographing cities at night more or less represent either end of the spectrum of possibilities. There are lots of other scenarios that fall within the realm of night photography, such as auroras, moonlight, and light painting.
Each situation calls for a slightly different approach, but there are some basic settings and procedures that are relevant for almost any nighttime situation. Some are fairly obvious, and some require testing and adjustments based on your specific gear and goals.
For the purpose of this article, we’ll consider optimal image quality to be of utmost importance.

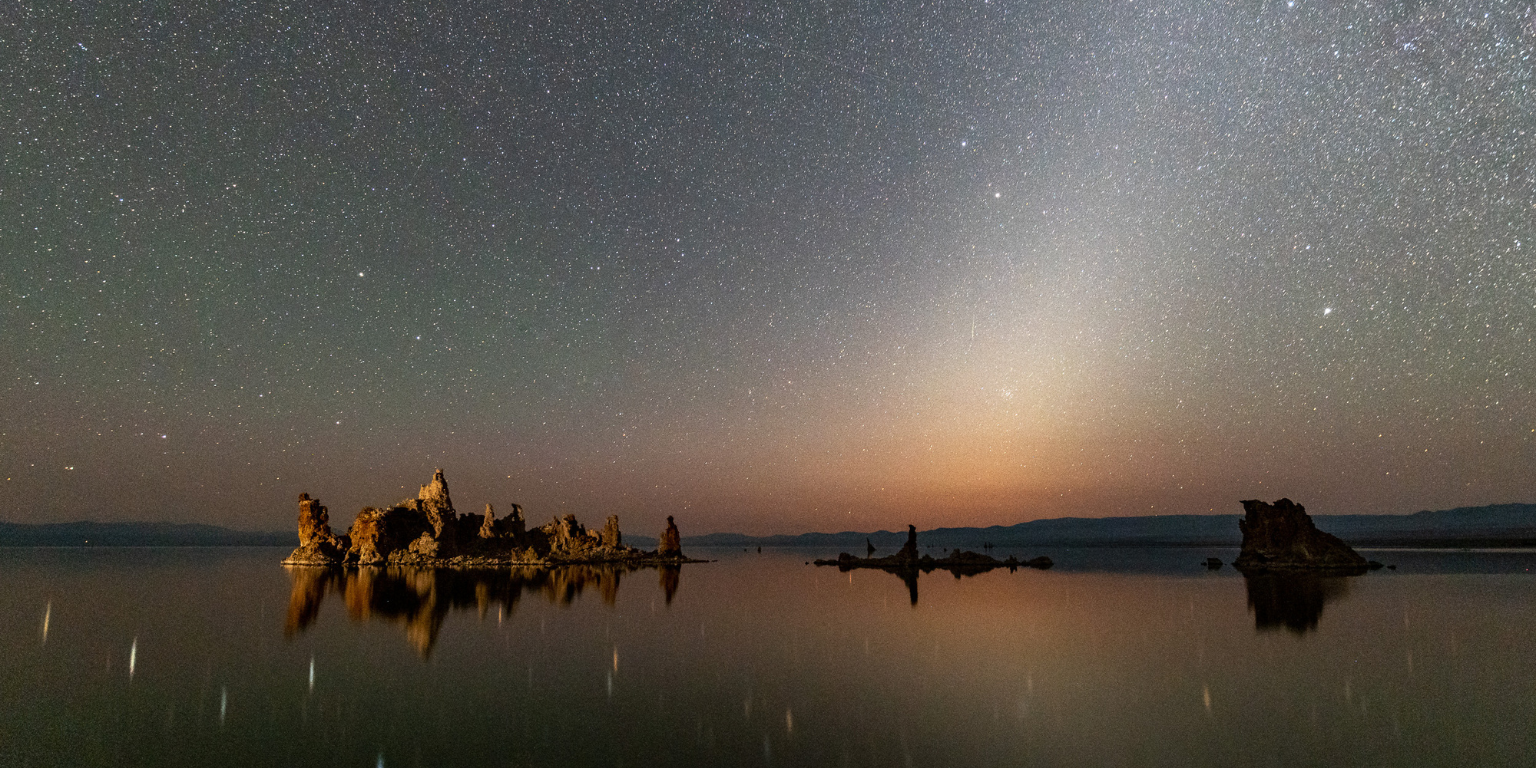
Zodiacal Light over Mono Lake. Lance Keimig. Nikon D780 with Tamron VR 15-30 f/2.8G at 15mm. 25 seconds at f/2.8, ISO 6400. An example of being in the right place, at the right time, with the right settings.
Whether it’s high ISOs, wide open apertures, keeping shutter speeds short enough to keep stars from trailing, or the extreme contrast found in urban night views, night photography is always pushing the limits of what our equipment can do. To be successful with this type of photography, the photographer needs to take control and make situational decisions that their cameras can’t do on their own.
Control starts with raw image quality and Manual Exposure mode. Raw files contain more information, and are far more malleable than JPGs. Today’s camera light meters are much more sophisticated than those from cameras from just a few years ago, and they are able to measure light at lower levels than ever before. Where they still stumble is in knowing what to do with the readings they collect, because meters are still trying to render every image as though it was shot in daylight. Except in brightly lit cities when shooting street photography, set your camera’s exposure mode to Manual.
If your camera’s native shutter speeds extend beyond 30 seconds, great! If not, enable Bulb Timer for Canon, and Extended Shutter Speeds for Nikon. Check your camera manual for other brands and newer models, as they are all different.
Autofocus is another area where camera technology has dramatically improved in recent years, but to get it right at night, Manual Focus is still the way to go. For an in-depth article on different options for focusing at night, check out Staying Sharp: 8 Ways to Focus in the Dark by Chris Nicholson from National Parks at Night.

Canyon Junction Bridge, Zion National Park, courtesy of Chris Nicholson. Nikon D5, Nikon 24-70mm f/2.8. ISO 6400, 15 seconds at f/2.8. First Quarter moon with white balance at 4200K.
Setting your White Balance manually is one of the ways to be sure your results are consistent, and what you expect to see.
Sure, you can and should tweak it in post-production, but in order to maintain that control over your images and keep them consistent, use the Kelvin option to set White Balance manually. For starlight, 3850 K gives a natural appearance, and 4200 K is a good starting point for moonlight. You may want to raise or lower the color temperature depending on your preference for warm or cool colors, but try to always use a consistent starting point for each lighting scenario. All bets are off in the urban environment, because there are so many different types of light sources. Even in the city, it’s a good idea to set the White Balance manually. You could start with Auto White Balance, and then lock it down by using the equivalent Kelvin setting for the auto-selected White Balance.
It may seem counter-intuitive, but it is important to turn off or disable Image Stabilization (IS) or Vibration Reduction (VR) when using a tripod.
Regardless if this feature is camera- or lens-based, either can have a negative impact on image quality, actually causing the problem they are intended to fix. These features enable us to handhold at much longer shutter speeds, but on a tripod, turn them off.

Crop of image ruined by lens-based Vibration Reduction. Courtesy of Matt Hill. Nikon D750 with Nikon 70-200 f/2.8G 120 seconds at f/4, ISO 800
Live View Settings vary tremendously from one brand or model to the next.
It definitely takes some research, as well as trial and error, to find the optimal settings to give you the most usable Live View image for composing and focusing. You want the image to be as bright as possible without making the image too noisy to be useful, or the entire LCD or EVF overly bright. Sony cameras have a feature called bright monitoring that is good for composing in low light, but not so good for focusing, because it doesn’t work when the image is magnified. The new Nikon Z 9 has an amazing feature called Starlight View that is super helpful for both composing and focusing in low light levels. Hopefully that feature will trickle down into mid-level cameras in the next generation.
While we’re on the subject of Live View, this is a good time to address LCD Brightness.
Screen brightness is usually set to maximum, or sometimes auto-brightness, which can lead you to underexpose your night images by tricking you into thinking you have a better exposure than you really do. An overly bright LCD screen can make an underexposed image look pretty good! In general, turn your LCD brightness to the lowest setting when working under the stars, and maybe one click brighter for moonlight.
Note that newer, more advanced cameras may have separate brightness controls for image and data displays, as well as for Live View and playback. If you have the ability to turn down the brightness of menus and data displays, by all means do so.
Two other reasons to turn down display brightness are to preserve your night-adapted vision and your camera’s battery. This is another situation that requires some experimenting with different settings for best results.

Dilapidated truck, Study Butte, Texas Lance Keimig. Nikon D750 with Nikkor PC 28mm f2/8. 4 minutes at f/8, ISO 100. The Highlight Indicator on the playback screen showed that there was too much added light on the image on the right. The lighting was reduced for the next attempt, which was much better.
Despite what I wrote above, you shouldn’t be evaluating your exposures based on the image preview on your camera. That’s what the RGB Histogram and Blinking Highlights Indicator are for.
Make sure both are enabled, and learn how to read them. You might try utilizing exposure peaking if your camera has that capability, but some people find it distracting.
We’ve all been taught to “expose to the right”, but a right-biased histogram isn’t usually possible when photographing by starlight. It’s important to understand how the context of what you are photographing affects the histogram. The Blinking Highlight Indicator is a great tool for evaluating any lighting that you may be adding to your scene. It can help you to consider the amount of light you are adding relative to the overall exposure, and which of those might need adjusting.
One camera setting that requires both testing and forethought to determine whether or not to use it is Long Exposure Noise Reduction, or LENR.
LENR is by far the best way to remove noise caused by heat buildup during long exposures, also known as hot pixels or amp glow. The downside to LENR is that it effectively disables your camera after each exposure while a second, dark-frame image is created and then subtracted from the original exposure.
In other words, if you are making a 5-minute exposure, your camera will be exposing for 5 minutes and then removing noise for another 5 minutes. If you are shooting continuous multiple frames for star trails or for stacking to improve image quality, you cannot use LENR. The times when you do want to use LENR are when the ambient temperature is warm, especially if you are using an older camera, and your exposures are longer than a couple of minutes.
This is another case where testing can help determine whether the pros outweigh the cons of using the feature.

Pilings, North Cascades National Park by Chris Nicholson. (cropped to show detail) Both images Nikon D5, 24-70 f/2.8 at 50mm. 10 minutes ISO 1000 at f/8. The right image has LENR, the right does not. Notice the color difference introduced by the noise in the left image.
These are the main settings and controls specific to night photography, but it’s well worth an hour or two to sit down with your camera and manual and really learn the menus, settings, and what they do.
Camera manufacturers have finally realized that people love night photography, and they are adding useful features to new cameras just for us. Testing those features to find the best settings for your camera at night, and then saving them all as a “Custom User Mode” or using the “My Menu” function is the last step to having quick and easy access for your night photography settings.
Here are three final tips to make night shooting easier and more fun:

The village of Trollanes on the Island of Kalsoy, Faroe Islands. Lance Keimig. Nikon D780 with Nikon VR 24-120 f/4G at 50 mm. 15 seconds at f/8, ISO 100. Working on a steep hillside in tall, wet grass with a fierce wind and rapidly fading light makes for challenging conditions. Knowing your gear and what’s required to get the shot makes the job a lot easier.
Night photography is fun and rewarding, but it can also be challenging. By organizing your gear, learning your camera well, and saving settings to a custom user mode or menu, you’ll be able to worry less about your kit and concentrate more on creativity and the wonders of the night sky above.
Regardless if you are new to night photography or a seasoned veteran, you can really level up your game at the virtual Night Photo Summit, happening February 3-5. The summit features more than 35 presenters, more than 40 classes, a panel discussion and image reviews.

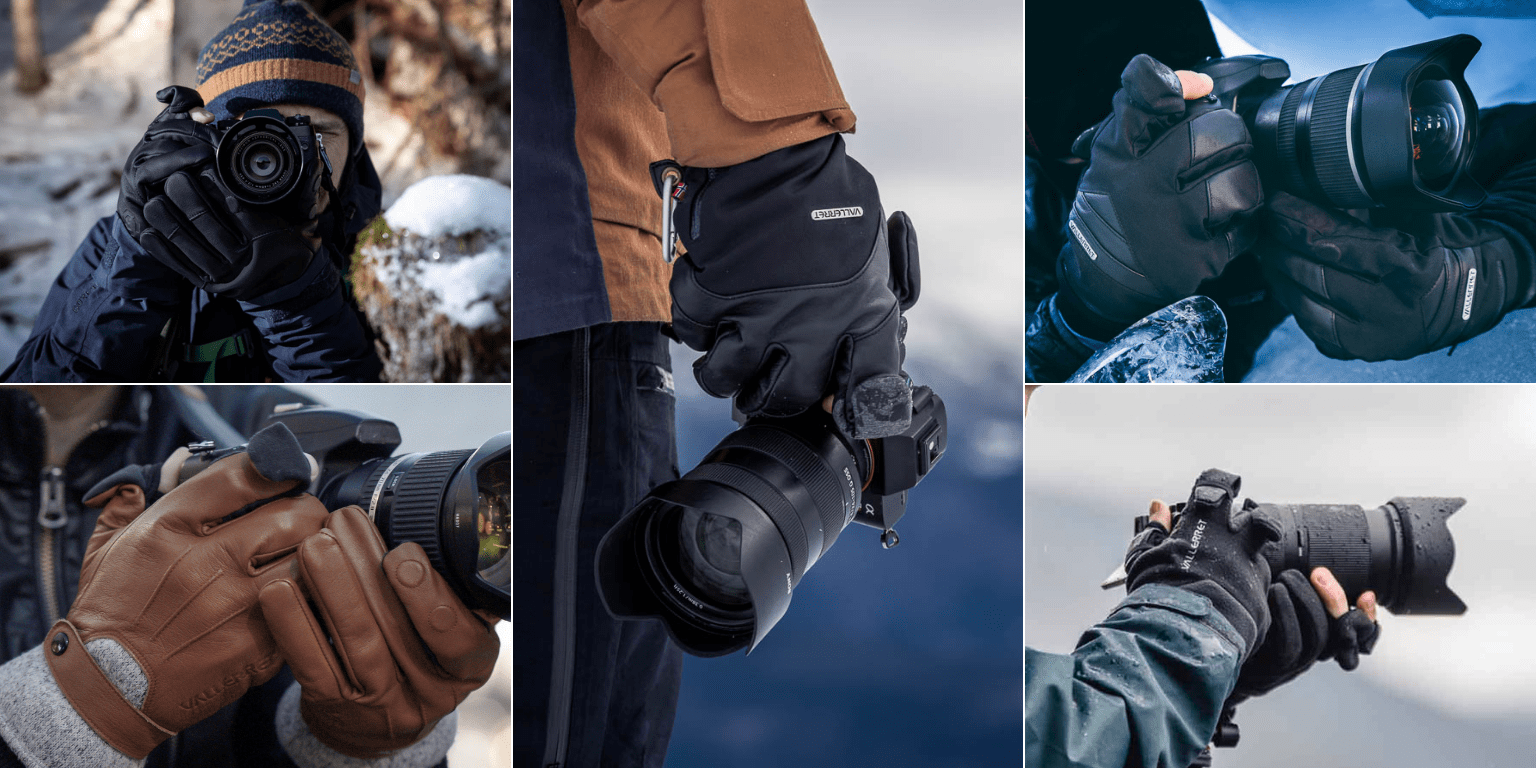
There will be dozens of giveaways (including five pairs of Vallerret gloves), product experts, camaraderie, fun, and community. All in all it will be an amazing weekend with 45-plus hours of night photography education and inspiration, hosted by National Parks at Night and sponsored in part by Vallerret.
Hope you enjoyed our tips for the key settings for Night Photography. If you have any questions, shoot us a comment below, and see you at the Night Photo Summit!
BIO:
Lance Keimig is an American photographer, instructor and writer of night photography. He considers himself extremely fortunate to be able to do work that he loves and to share what he has learned with others who catch the night photography fever. For more details, make sure you check his websites TheNightSkye.com and NationalParksAtNight.com
Comments will be approved before showing up.


Molteni Renata
April 08, 2024
Complimenti!!!!
Spiegazione chiara ed interessantissima
Grazie